You are using an out of date browser. It may not display this or other websites correctly.
You should upgrade or use an alternative browser.
You should upgrade or use an alternative browser.
TDi 75 AMF coolant leak from hoses tandem vacuum/fuel pump seals?
- Thread starter froggy
- Start date
froggy
Member
This is the vacuum hose to the back of the tandem on mine, can you tell if this clip can be unlocked as in your picture?I got distracted by tools, torques etc. didn't post what I intended to. Those pain in the butt tamper proof clips, some have a joint that can be pryed off. Look out for then saves angle grinder damage.
View attachment 86862
Attachments

froggy
Member
Tandem all torqued up, surprised how little difference there is between 10 and 20nm ? just a slight turn forward and that was it.
I had to use a small 2-20nm bike torque kit I got off eBay, due to the air con pipes getting in the way for the large rear bolt - it was’t a cheap kit, but I was still surprised when I checked the bolts I could reach with the Sealey, it was spot on. Only issue with it was setting 10nm for the small bolts, closest I could get was 10.1 (9.5 + 0.6nm). The Sealey though could be set to 10nm exactly and as I said clicked straight away.
I followed @philward torque sequence many thanks for that ??
Attachments


froggy
Member
Thanks @audifan - I’ve got your fuel bulb guide ready to go to return some diesel to the tandem and a battery jump pack on charge just in case. I may get away with re-attaching the existing fuel line as only a 1” piece needed to be cut off due to damage.Yes that does look look the same type of clip. Try not to distort it when you remove it.
If I can just get this clip sorted and if all goes well tandem will be fully installed by mid afternoon. (I can hear my mechanic friend Simon in my head “10 minute job that” ?)
froggy
Member
Ok @audifan to prove I learned the lesson last time, I’m going to be patient! I have unclipped the annoying clip with a small flat blade screwdriver and as you advised I’ve not distorted it. So what would be the best way forward from here? Can I try sliding the hose onto the tandem and reclip it, or does the clip need to be fully removed, slid backwards and then clamp it down again once the hose is on? It’s pretty firmly stuck for now but I didn’t dare try any force until I know what to do.Thanks @audifan - I’ve got your fuel bulb guide ready to go to return some diesel to the tandem and a battery jump pack on charge just in case. I may get away with re-attaching the existing fuel line as only a 1” piece needed to be cut off due to damage.
If I can just get this clip sorted and if all goes well tandem will be fully installed by mid afternoon. (I can hear my mechanic friend Simon in my head “10 minute job that” ?)
Attachments

froggy
Member
It just needed a little nudge and I was able to move it. Vacuum hose then slid straight on, but need to put my thinking cap on to reclip it. I need to hold it still with my left hand and then use small pliers to pull the clip back over the tiny lugs. Due to the cramped space, I think I will probably use a new spring clip.Hopefully there is enough give in the clip now to slide the hose back on with the clip as is. If not you will have to open the clip. You could always replace it if needed with another clip.
Edit* just seen your last post, yes definitely will use a new clip just need to make sure its the correct size ??
Ami
A2OC Donor
The clip in the picture is a one time use & need a special tool to put a new one of those on again, its best to remove it & use an Audi spring clip if you have the correct size.Ok @audifan to prove I learned the lesson last time, I’m going to be patient! I have unclipped the annoying clip with a small flat blade screwdriver and as you advised I’ve not distorted it. So what would be the best way forward from here? Can I try sliding the hose onto the tandem and reclip it, or does the clip need to be fully removed, slid backwards and then clamp it down again once the hose is on? It’s pretty firmly stuck for now but I didn’t dare try any force until I know what to do.
froggy
Member
I think I’ve got a little formula for finding the correct size clip for whatever hose you need to fit. If you measure the width of the hose in mm and subtract 3mm you get the correct size hose clip. Unfortunately for me, the width of this vacuum hose is 20mm and I only have 16 or 18mm hose clips. 16mm just will not go on and 18mm, you guessed it, a fraction too big. I’ve fitted the 18mm for now - it seems tight but I can rotate it by hand without much effort, does anybody know if I will be able to start the car like this until I can get a 17mm clip?
Attachments

froggy
Member
Thanks Ami ??The clip in the picture is a one time use & need a special tool to put a new one of those on again, its best to remove it & use an Audi spring clip if you have the correct size.
Little Dog
A2OC Donor
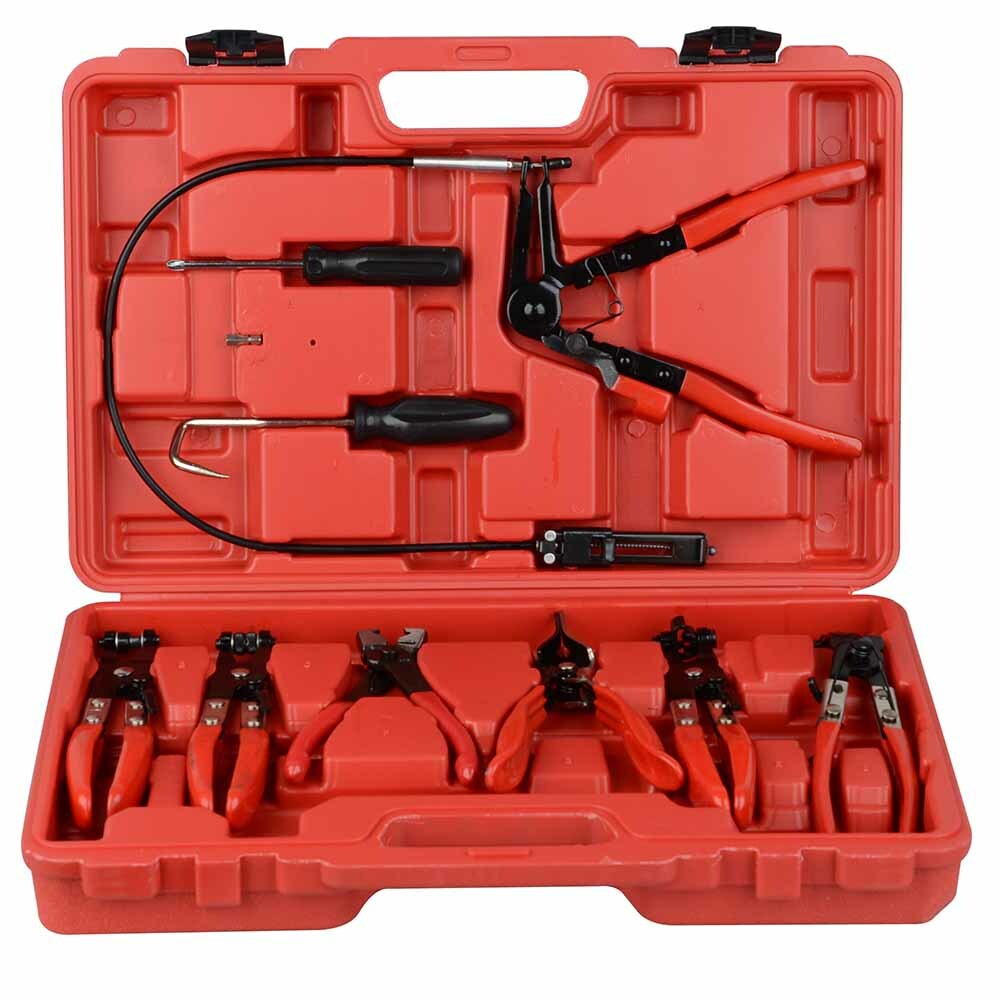
Or a Jubilee clip, I think that is what is on mine.The clip in the picture is a one time use & need a special tool to put a new one of those on again, its best to remove it & use an Audi spring clip if you have the correct size.
The tool:
Little Dog
A2OC Donor
I would say start it. Be cautious about driving it though, check your brakes before going anywhere.I think I’ve got a little formula for finding the correct size clip for whatever hose you need to fit. If you measure the width of the hose in mm and subtract 3mm you get the correct size hose clip. Unfortunately for me, the width of this vacuum hose is 20mm and I only have 16 or 18mm hose clips. 16mm just will not go on and 18mm, you guessed it, a fraction too big. I’ve fitted the 18mm for now - it seems tight but I can rotate it by hand without much effort, does anybody know if I will be able to start the car like this until I can get a 17mm clip?
If the vac pipe isn't sealing, I think it will, put a Jubilee clip on it.
froggy
Member
Thanks everyone, I will try to start it today, fingers crossed there is still enough time.
I have now managed to remove the thermostat housing from above - impossible without the little bahco set that other members have suggested in other threads.
I have cleaned the housing as best as I can (needs a bit more between 4 and 6 o clock area) and if anyone can help with the flushing process I am nearly there! @audifan suggested flushing the block through the thermostat housing. I think I need to insert the hose into the hole on the right, but can anybody help with the outlet - will the flow come out of the coolant expansion tank hose pictured? I’d rather not remove coolant flange pipes again if possible!
In the meantime I will attempt to refit the fuel lines.
Attachments


froggy
Member
I think this answers my own question thanks to @audifan from early on in the thread - following the flow arrows it does look like the flow can go from the thermostat through the heat exchanger and out the expansion tank hose?This parts diagram list most of the pipes...
coolant hoses and pipes; flange; reservoir Audi A2 (A2) 2002 year Audi EUROPA 121037
coolant hoses and pipes<br/>flange<br/>reservoir Audi A2 (A2) 2002 year Audi EUROPA 121037 spare partsaudi.7zap.com
Audi Workshop Service and Repair Manuals > A2 > Power unit | 3-cylinder TDI unit injector engine (1.4 ltr. 2-valve), mechanics | Engine cooling | Cooling system | Diagram of coolant hose connections
A2 > Audi Workshop Service and Repair Manuals > Power unit | 3-cylinder TDI unit injector engine (1.4 ltr. 2-valve), mechanics | Engine cooling | Cooling system | Diagram of coolant hose connectionsworkshop-manuals.com
This is a schematic of the cooling system. work back from this to the parts diagram...
View attachment 85296
Diagram of coolant hose connections
1 - Exhaust gas recirculation cooler or auxiliary heater
q Exhaust gas recirculation cooler is only fitted on engines with code letters ATL
q Fitting of auxiliary heater depends on equipment level
2 - Bleeder screw
3 - Coolant pipe
4 - Heat exchanger
q If renewed, refill system with fresh coolant
5 - Coolant pipe
6 - Coolant expansion tank
q With filler cap
q Checking pressure relief valve in filler cap → Anchor
7 - Coolant hose
8 - Bleeder screw
9 - Radiator
q Removing and installing → Chapter
q If renewed, refill system with fresh coolant
10 - Coolant hose
11 - Oil cooler
q If renewed, refill system with fresh coolant
q Removing and installing → Chapter „Removing and installing oil filter bracket“
12 - Coolant pump/thermostat
q Removing and installing coolant pump → Chapter
q Checking thermostat → Chapter
q Removing and installing thermostat → Chapter
13 - Cylinder head/cylinder block
q If renewed, refill system with fresh coolant
14 - Coolant pipe
q Going to heat exchanger on vehicles without exhaust gas recirculation cooler or auxiliary heater
15 - Coolant pipe
q To exhaust gas recirculation cooler or auxiliary heater
Hope this makes it a bit clearer.
Last edited:
audifan
A2OC Donor
Fit your garden hose into the rubber pipe that was connected to the thermostat housing. The water will come out the block where the thermostat has been removed. This is the return path through the radiator once the thermostat is open. No need to touch the coolant flange. You can also partially flush from the expansion tank.
Get all fuel hoses at least sealed if not fitted before you coolant flush as you do not want water in the fuel lines.
Get all fuel hoses at least sealed if not fitted before you coolant flush as you do not want water in the fuel lines.
froggy
Member
Well I came close to starting her today but not close enough ?. Had a near disaster when I managed to mix up the fuel feed and tandem return pipes either side of the fuel sensor. When I realised and attempted to remove the fuel feed hose, the force needed to pull it off the metal pipe, meant my arms shot backwards and……ripped the two copper fuel sensor wires in half ?. Fortunately I do have some limited electrical skills and was able to twist them back together (green and grey outer sheath so I could tell the difference thankfully) and tape up. It is only a temporary repair of course. Top tip for novices like me - label the pipes up before you start.
Final disaster of the day was the tap connector the mrs bought. She hadn’t realised it was supposed to come with rubber gromets and gave herself a good soaking. Well that means no engine flush and so play stops once more, not for rain but water still involved ironically. I think she has saved me from a more permanent disaster though - the 12mm spring clips would not fit over the fuel line and the nearest I had was 15mm. This is really not doing anything, but I may have been tempted to test the engine anyway. Instead, I shall invest in some new ones as I need a 17mm for the vacuum pipe anyway. Tempted to renew all of the fuel hoses, but removing the clips and getting diesel everywhere puts me off. Engine bay looking a bit more respectable though now.
Again, massive thanks to all of you especially @audifan and @philward for invaluable advice. Tomorrow after work engine block flush and new thermostat to fit and as soon as the clips arrive I can attempt start up.
Attachments


audifan
A2OC Donor
The fuel feed and return pipes are colour coded.. White for fuel supply and blue for fuel return. Jubilee clips are sufficient on these pipes and many cars have had these as replacements by new. Not OEM but easier to obtain than the correct ones.
The "good" news is the fuel temp sensor ( the damaged wires ) are not polarised i.e. as long as the wires are connected there is no positive or negative as it is a resistance value the sensor produces.
The "good" news is the fuel temp sensor ( the damaged wires ) are not polarised i.e. as long as the wires are connected there is no positive or negative as it is a resistance value the sensor produces.