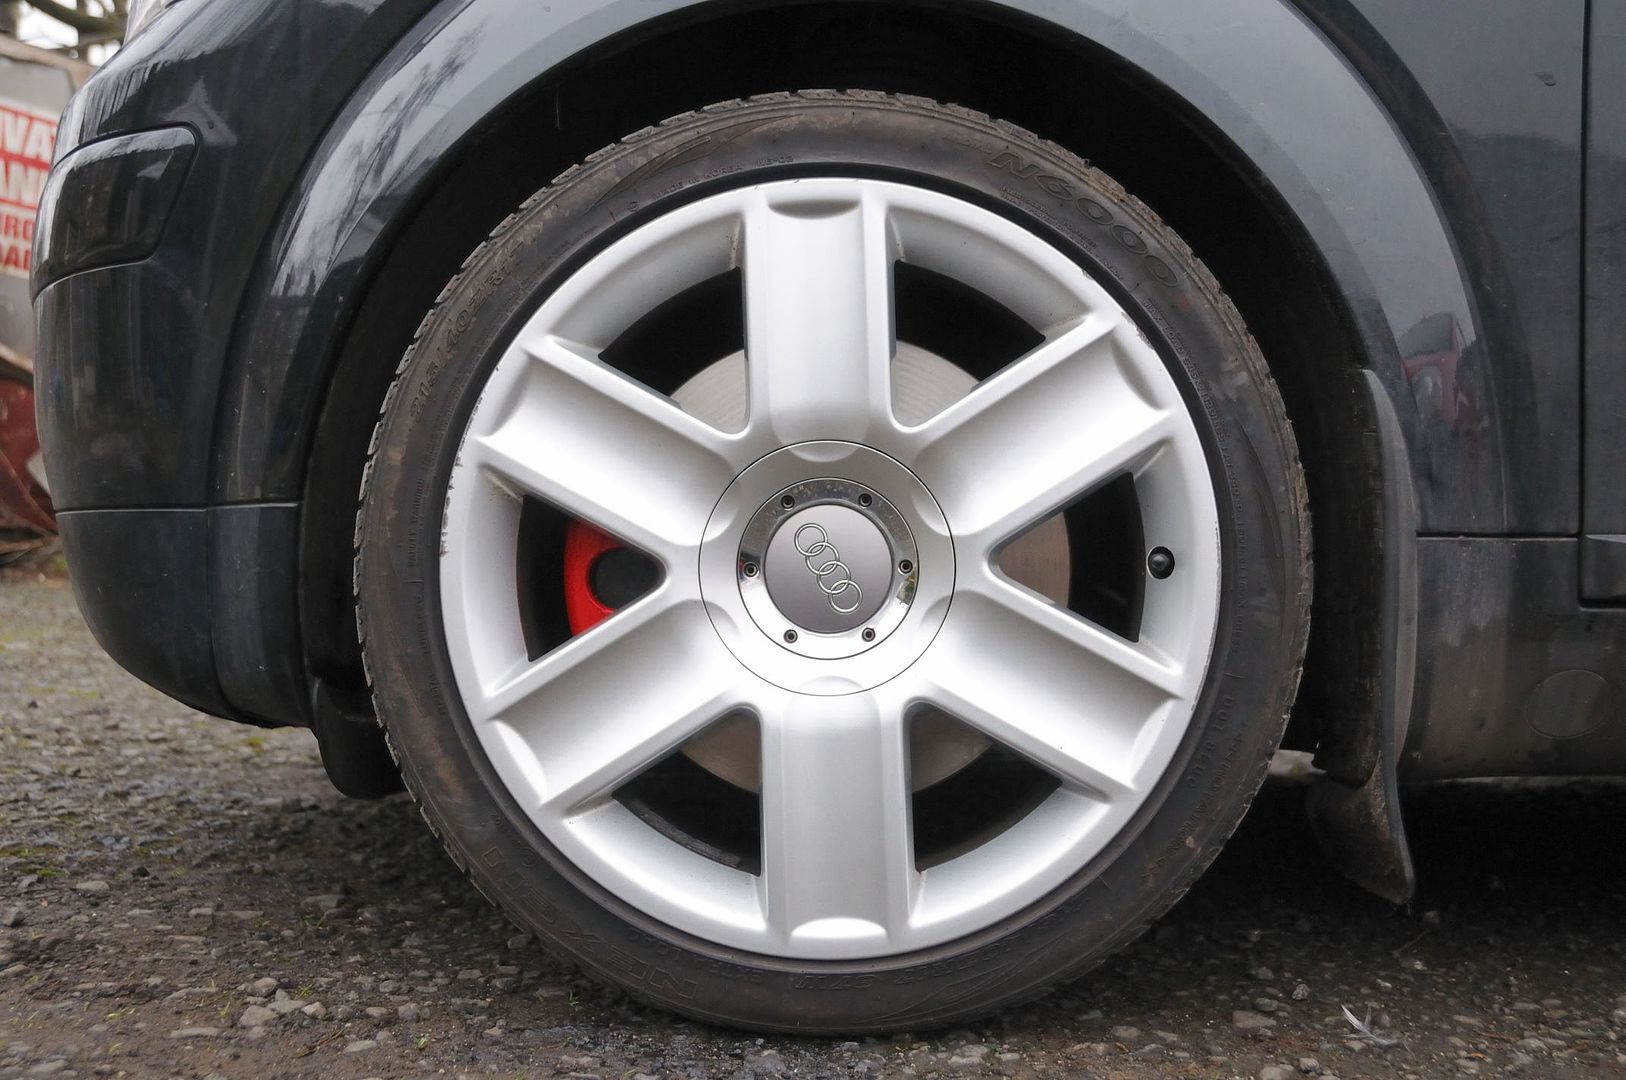
Big Brake Upgrade

Big brakes.

Hi everyone. Just received the front hubs for my wife's A2. As mentioned to Skipton01, I ordered them from a German auto parts store (dismantler). Both come a Skoda RS and have driven around 40 miles. Received in perfect condition with rotors and bearings in place and the splash guard as well.
Paid 200 Euro with shipping thru Paypal and received them in 3 days. Tried the calipers I had on hand from a past A4 2.5TDI fitted with 288mm rotor disk. They do fit and should be enough to improve braking. I am going to order some Brembo Max disk and the stainless steel braided hose to go with it. Still questionning the replacement of the suspension with Koni FSD as I will have the front taken apart. Might as well change them! What do you all think? Will change the bottom part that is bolted to the triangle. Cheap enough.
Will post pictures and weight as I go along. Exchange will probably take place in the summer so dont despair!. Car is only +-40000 miles. Nothing wrong with it just some fine / slight changes.

Ltr, Didier:)
 
Update

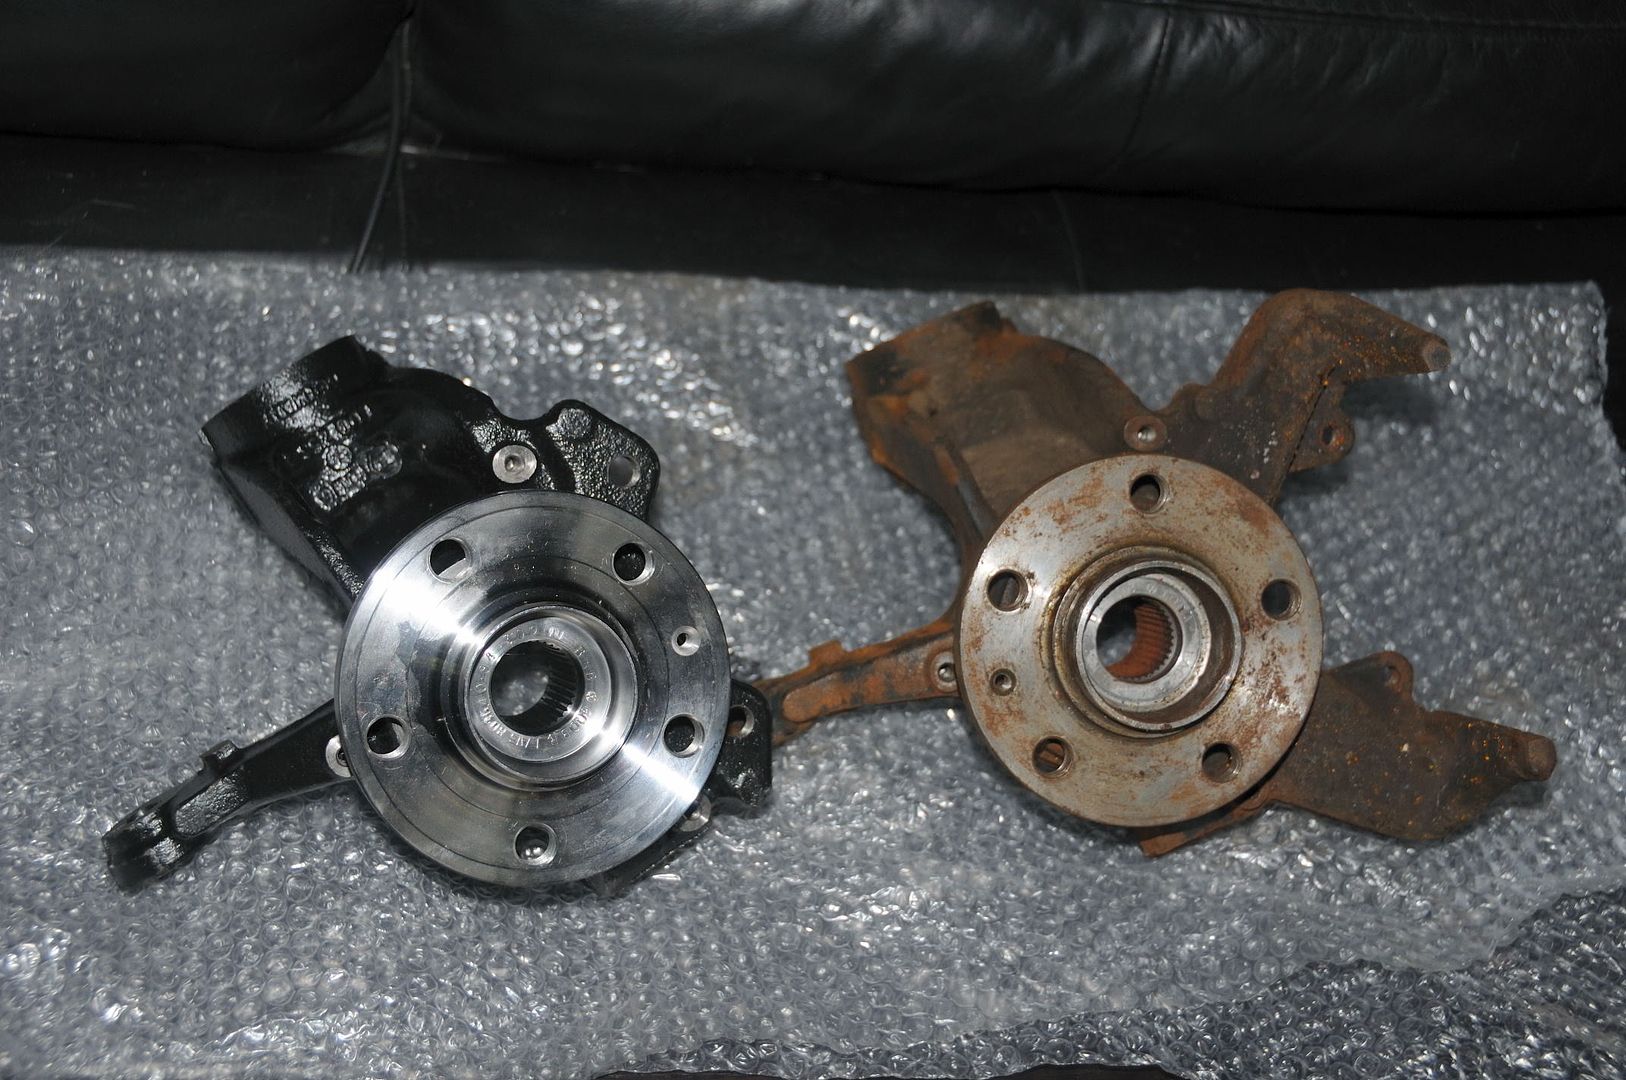
The hubs and housings are on their way from South Hereford Audi and I also have the new Mintex brake box.

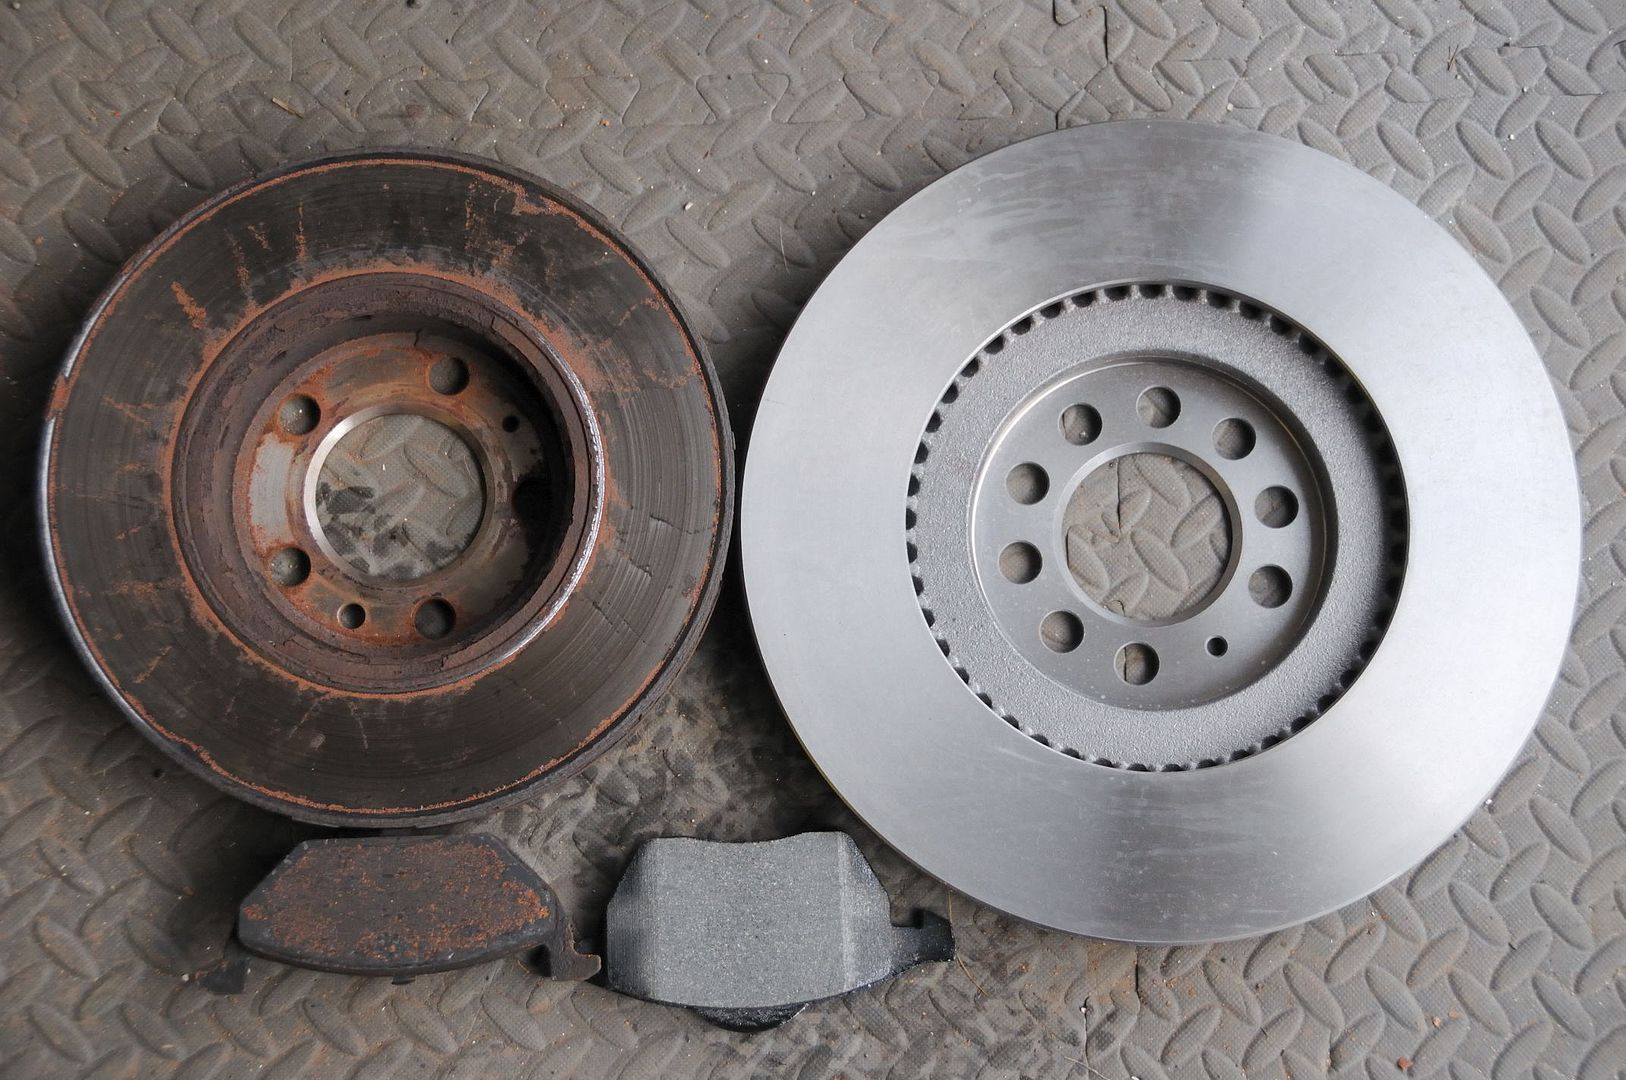
Looking at the photo below, you can see the increase in diameter and also the almost 50% increase in pad area - this should improve braking efficiency by around the same amount:

DSC_1297.jpg


I've also got the braided lines in place and now all I'm waiting on is the delivery of the new knuckles.

Cheers,

Mike
 
Forgot to mention - worth weighing them just to measure the increase in unsprung weight?
 
I'm weighing components as I go along, so will do a full report at the end of the installation.

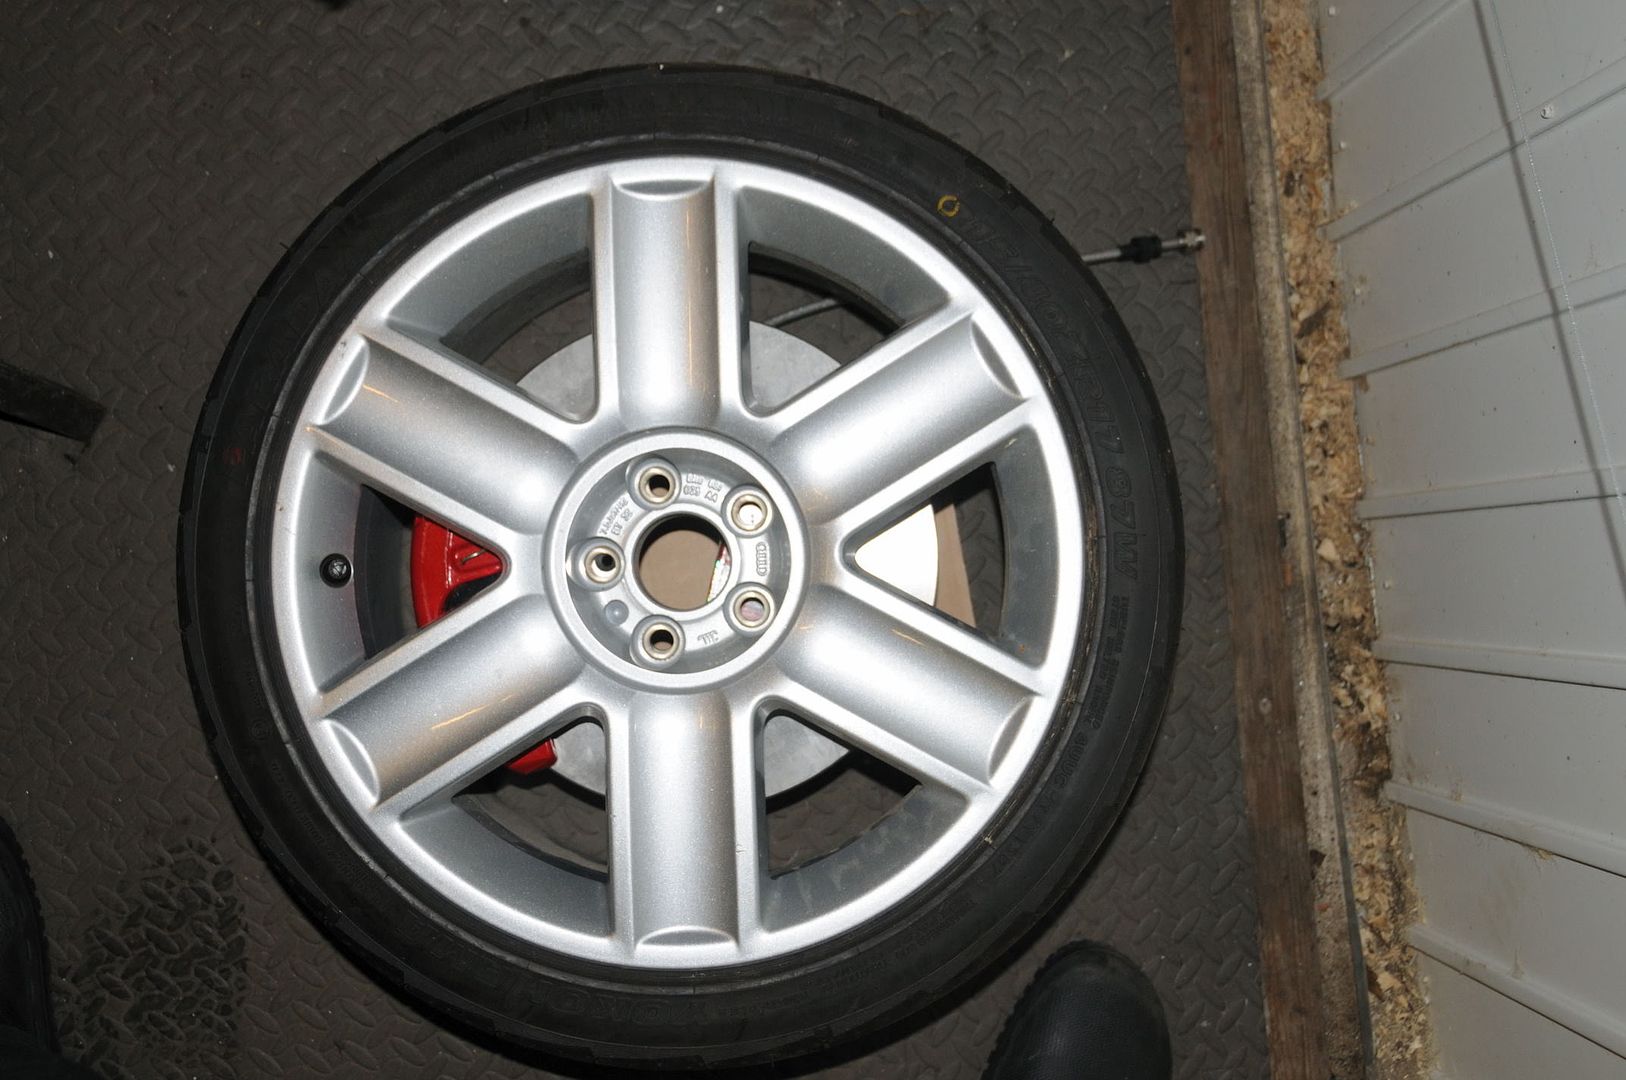
Here's a sneak preview of what it will look like behind a 17" wheel:

DSC_1308.jpg


There's definitely room for the 340mm setup from the R32/TT V6;)

Cheers,

Mike
 
Job done (almost!)

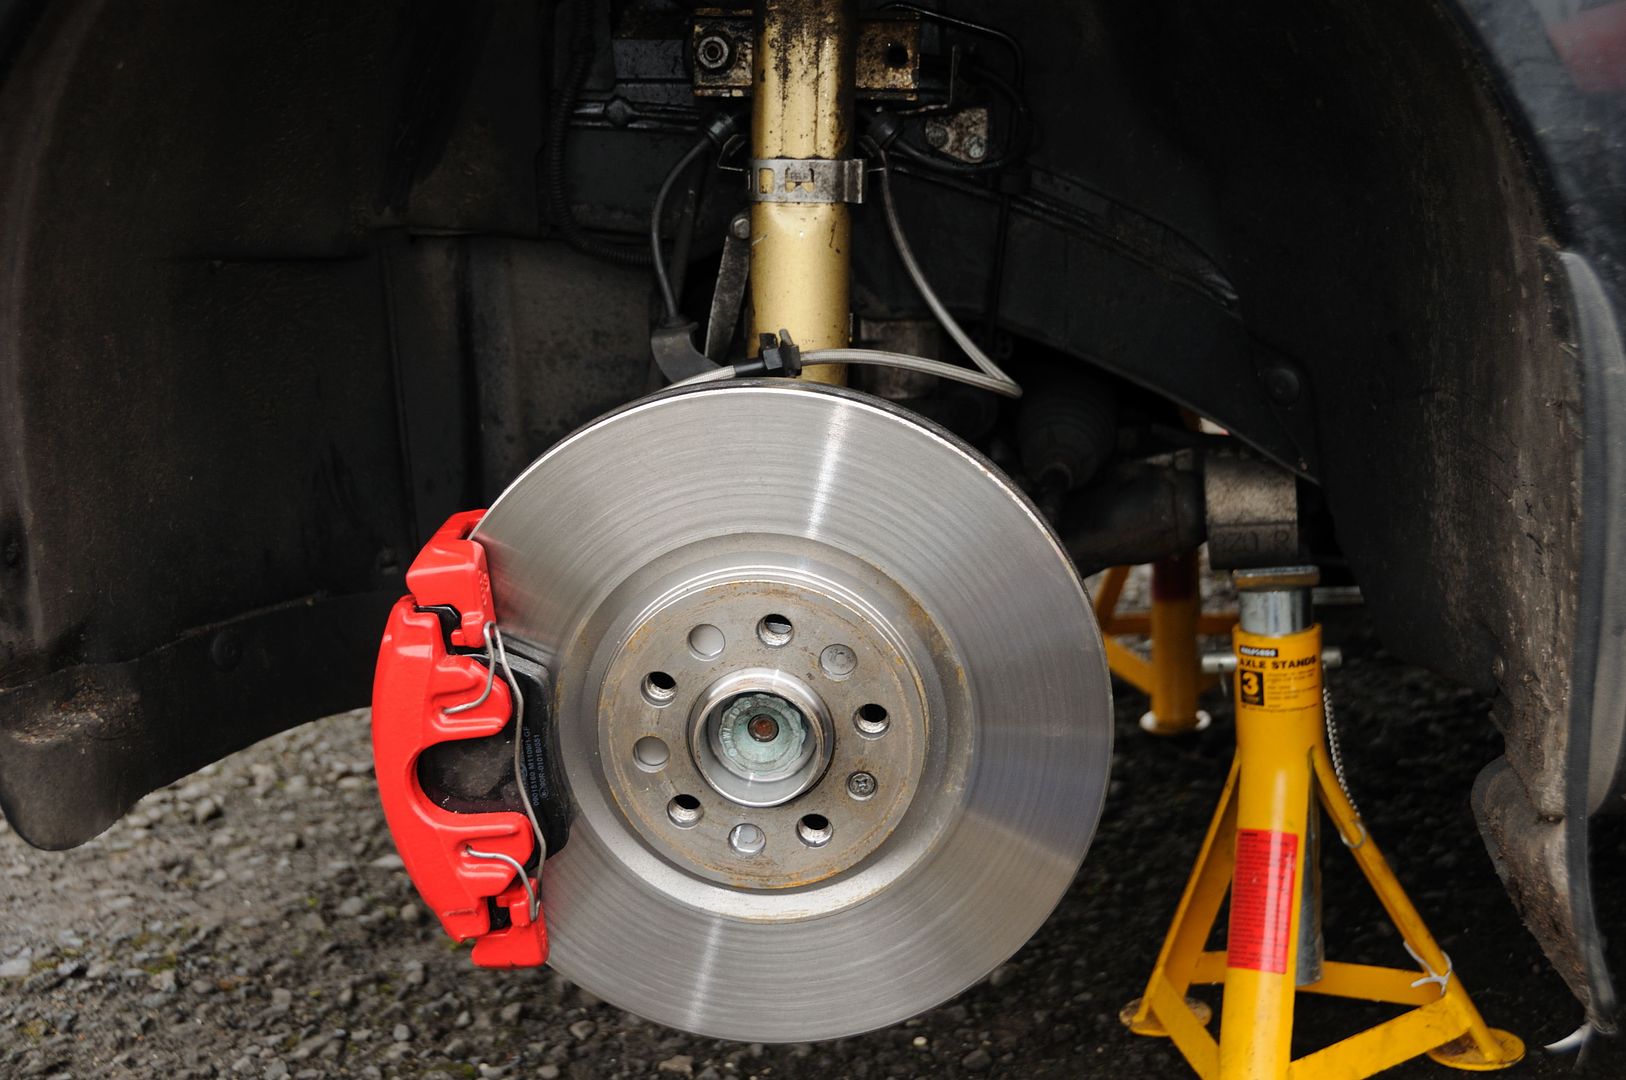
Well, after a solid 7 hours work, I'm pleased to say that the new brakes and hubs are in position and the majority of the work is done.

I say majority as there was a small hitch - the first bolt I tried (all had been soaked in WD40 for hours) was welded tight and had to be ground down to such an extent that the nylock material melted out and I could then free the nut - by which time the threads were visible on both sides of the bolt!

So, apart from the tie rod end on the nearside, it's all done.

Now the bad news - I didn't take photos of the various steps, but, I will do a full write up for those interested.

It's all very straightforward, but you do need a decent set of spanners and sockets, as well as a few specialised tools (36mm bi-hex socket, ball joint puller, Manchester screwdriver).

The basic procedure is as follows:

Loosen the wheel bolt and drive shaft nut (36mm nut on later models) before lifting the front wheel and securing on axel stands.

Remove the wheels fully and then remove all clips on the brake lines, brake wear connector and the speed sensor connector.

Remove the plugs to access the caliper carrier bolts and remove, using 7mm allen key.

Lever off calipers and place on the floor, to the rear of the steering rod (the removed clips mean it does sit on the floor and puts no weight on the hose).

Remove the brake disc and splash shield (cross-head screw for disc, use an impact driver, and 3 x 8mm bolts for the splash shield).

Hammer in a 6mm allen key to the central part of the tie rod end, then use a spanner to undo the M12 nylock nut. Once the thread is exposed, sharp taps to the allen key will free the tie rod end from the hub housing.

Undo the 3 bolts from the ball joint that attach it to the wishbone arm, marking the positions first.

Then, using a 3-legged puller, or hub puller, press out the drive shaft. Clean off the residue fron the splines (old thread lock) and de-grease, ready for re-insertion.

Undo the pinch bolt at the back of the damper and then using a wedge, lever the hub housing apart slightly to allow the hub housing to be tapped down and off the damper.

When the hub housing is free, undo the 5mm allen bolt and wiggle the speed sensor out. Then, undo the 10mm bolt to remove the hose bracket. Finally, as per the tie rod end, hammer in a bit (in this case, a T40 torx bit, not 6mm hex)) to the central part of the assembly and using an 18mm spanner, undo the nut. Press the ball joint out using a ball joint puller.

The old hub is now stripped and so you should clean up the area and make preparations for installing the new hub housing (insert ball joint, speed sensor and hose brackets).

Lightly grease the inside of the hub housing to make installation on the damper easier. Re-install on the damper, making sure the tab on the back of the damper is correctly aligned with the housing.

Re-assemble the drive sharft into the hub housing and loosely screw on the new (it must be new) nut. This can be torqued up when the tyre is on and the wheel is on the ground.

Re-assemble the 3-bolt fixing to the wishbone arm, making sure you get the bolts back in the same place you marked.

Re-attach the tie rod end and make sure all the nuts are torqued up. Attach the speed sensor cable.

Undo the 2 x 10mm bolts holding the brake hose union bracket to the top of the wheel arch and split the union (needs a couple of spanners, 11mm and 15mm from memory).

At this stage, brake fluid will start to leak out, so, get the new hose ready (if you're changin hoses) and re-attach. If you are using braided lines, the brake union bracket will need modifying to accept the new, bigger nut.

Attach the new splash shield and brake disc, then put the new caliper on to the hub housing. Attach the brake line to the calpier and then re-clip the hose into the brackets around the damper, so that kinking is minimised.

Re-attach the (modified) brake union bracket and wipe everything down with a rag. Double check all the bolts and nuts you have undone, to see that they are tight and sound.

At this point, you're pretty much done - bleed the brakes (start with the nearside) until you get a solid pedal, re-attahc the wheels and lower the car.

Once the tyres are on terra firma again, don't forget to torque up the drive shaft nuts, as well as the wheel bolts.

Clean everything down to remove any brake fluid and you're done - enjoy your new, REALLY powerfull brakes!!

Pictures of the final installation will come tomorrow, after I've replaced the tie rod end nut!

Cheers,

Mike
 
Glad you gave us the basic run down and didn't do in full version as we would still be reading it next year LOL. Glad its all done now carl wont have to fit a cusion to the back of his car at ADI this year if he gets in front of you, And that should be a BIG IF as you should definely fly around now just got to work on the TC to stop coming on now

Cheers Phil
 
Looks really great, but more importantly how does it stop?? :D I guess the pads will take a few miles to bed in, but it must feel different under your right foot?

Top mod once again Mike! You have raised the bar another notch.

Cheers,

David
 
Nice job as always Mike - if you are looking for ballast for CC this year, I wouldn't mind a "before" and "after" experience based on '07 and I am therefore putting my name into the hat v.early.

Cheers,

Darren
 
Thanks chaps - there's the small matter of the nearside drop link top nut, which has welded itself tight to the central bolt and needs to be tightened, as it has loosened and now rattles.

Tried WD40, tried a heat gun and a Manchester screwdriver, but looks like it's a grind off job again - ordered a new nut and will tackle at the weekend.

The brakes are still spongey and I am a little worried that the pedal very slowly goes down when constantly pressed, suggesting a leak, but I'll check after a couple of days use. The banjo bolts are very tight, as are the nipples, and I think the unions are torqued up too, but I'll see what's what at the weekend.

There is certainly no need to put anything like the same pressure on to stop now and things will also improve with bedding in.

Darren - you've got first dibs for CC.

As to weights, I've just worked out the figures and the mod adds around 2.9kg unsprung weight to each corner, which isn't bad at all and is almost entirely down to the larger discs, which are 2.6kg more than the old ones.

Cheers,

Mike
 
Just catching up with this one - good work Mike!

Slight sponginess - I'd suggest you re-bleed the system (just a query, has the A2 got a hydraulic clutch and so would this need bleeding too if so?). I experienced this when I did a brake conversion a few years back, there's just so much air trapped in the various new components, but after re-bleeding, that cured it. I assume you pulled through a nice large volume of fluid when you did bleed initially?

What fluid are you using incidentally?

I suppose the final test would have been to have done before and after stopping distances, but do you get a sense of how much better (shorter) you're able to pull up?

I've bled and re-bled the system Dan and pulled through about 100ml per side. I've also bled the clutch system, which uses the same reservoir as the brake system and the softness is still there - as I say though, the pedal will slowly drop when you keep a steady pressure on it with your foot, so that's why I think there may be a leak somewhere.

The fluid is Mintex.

I'll see if there is any weeping after a few days driving, which may pinpoint the leak (if there is one). I've put ptfe on the nipples as they struck me as not being 'solid' - you know when you tighten a bolt, you get to that point where it bottoms out and goes solid, well that's not happened here on either the banjo bolts or the bleed nipples.

Cheers,

Mike
 
track day

Hi
Would just like to no when the next A2 track day will be and where, thats if their is going to be one Id love to bring my A2 along
Many thanks

Scott
 
There hasn't really been an A2 trackday as such, but we nutters tend to do a session at Audi Driver International at Castle Combe in October.

Cheers,

Mike
 
Back
Top