led lights resembling R8, S5 etc

666mike

Member
Hi guys, i know I'm probably dreaming but do u think you cud get lights that look anything like the Audi r8, more so the s5, £70 grand plus cars pose obvious difficulties to replicate but there is someone selling modification kits on ebay, just go to the ebay site and type in Audi r8 and his listings are obvious, i apologize for not being able to assign the web address, I'm not pc proficient, please check it out, don't mistake me for someone that reads max power and makes frequent visits to halfords.

Tasteful, elegant mods quite simply look the bollocks !

Food for thought, your opinions appreciated !!
 
I've done exactly as you suggest, only I replicated the S6, as at the time, it was the only model with LED daytime running lights in the Audi range.

To incorporate them INSIDE the headlamps requires a specific type of headlamp (from pre-2001 models) which are separable.

You can always incorporate LED strips into the bumper area (which is where the S6 ones go anyway) or you can ask Driveforward how he achieved his look.

ADMag02.jpg


Cheers,

Mike
 
Mike,

Very neat job, I am liking the xenon install too. May I ask how much all that cost and how challenging was it?

I also have retro fitted xenons to my a4 which is why I want them on the A2! I have yet to install the levelling system, was that tricky? I want to do this on both cars as plan an keeping them for some time and feel that it is worth playing safe.

She will kill me if she knows how long the list of "jobs" is becoming and the incorporated costs!

Paul
 
It was very challenging indeed and the costs were fairly hefty too, with the S6 parts coming in at £130 and the donor RS4 headlamps a bargain at £75 the pair.

The hardest part is physicxally fitting all this into the headlamp shell and it is VERY tight.

The self levelling is from a TT, as is the controller, as the wheelbase of an A2 is only 13mm out. The brackets on the wishbones need welding and you'll need to make some custom linkages too.

Time is the biggest factor here and it took me best part of 3 months, with various prototypes in the meantime.

Cheers,

Mike
 
Well worth it though I am sure you must be pleased with the finished effect! I am assuming you tried other xenon components first to see what the fit would be like in the light unit?

Any help is very much appreciated Mike, I will not be offended if you would prefer to keep all the detail secret, especially as it took you a considerable amount of time and expense! Feel cheeky asking TBH!

Paul
 
Hi Paul,

I'm happy to share the procedure with anyone, but it all hinges on being able to get hold of a pair of A2 headlamps that can be separated (ie are not glued together) so that you can work on the internal components.

First thing to do is to mod the silver trim which sits at the front of the headlamp to accept the S6 DRLs (which must be fully dis-assembled and hence destroyed, into the constituent parts). The DRL/new trim piece needs to be mounted on a custom aluminium heatsink, to keep the LEDs cool.

You then need to take a dremel to the dip beam reflector to enable the mounting of the xenon projectors, which are aligned (very tricky) and bonded in place permanently.

You should then remove the standard side light and prepare/paint the assembly.

The electrical work can then begin and you must shoehorn the ignitor and wiring into the reduced space left by fitting the large projector unit. The adjuster motor also needs to be able to freely move the assembly, which is only just possible with bi-xenons, but is a little easier with the single beam TT units I tried firstly.

The solenoid motor to control the main and dipped beam functions should be wired into the main beam feed and you can either keep the feed going to the H3 bulb, or omit it (I've kept it, so that I have both xenon and halogen units active when main beam is selected). If you choose to omit the H3 bulb, you could go down the S8 DRL route and fit 5 Luxeon 1W LEDs in the main beam reflector.

The final job is to mount the ballasts and run the wiring to it, then waterproof everything.

I'll attach a few pics, but you are best off seeing the install in the flesh at a future social.

Cheers,

Mike

DSC_2770.jpg


DSC_2771.jpg


Projectors02.jpg


Projectors01.jpg
 
As for the self-levelling system, you'll need the appropriate control unit for a TT, 2 x sensors, also from the TT and then a couple of custom made linkages.

The first job is to mount the sensors and run wiring from them nack to the passenger footwell, which is the best place to put the controller, as there are various wire taps to be made from the connectors in there and at the base of the A pillar.

The rear one is fairly easy, although you'll need to drill and plug the chassis to make a mounting point and then run the cable along the sills.

The front is easy to mount, but requires a lot of faffing to get the wiring back though the bulkhead.

The sensors and linkages need to be connected to brackets that need to be welded to the front and rear nearside wishbones, so you'll need to be handy with a MIG or arc welder.

Once it's all re-primed and painted, wiring can start and you basically need to bypass the manual controller and pass the function over to the control box that takes feeds from the level sensors and speed sensors to determine the positioning of the control motors.

Again, a couple of photos below.

Cheers,

Mike

FrontLevelSensor01.jpg


RearLevelSensor01.jpg
 
Mike,

You are a true gent! Many thanks! I suspect that I shall aim for the the single xenon projectors and take it from there! I will make a social when I can. I have been reading the forum for some time and now that the modding list on the a4 is almost complete the a2 is finally going to get some much deserved treatment as we hope to keep for a long time!

Thanks very much again!

Kind regards

Paul
 
WOW :eek::)

Mike that Xenon install is amazing.
Superb workmanship.
:)

Your car looks stunning as well.
 
fitted LED daylights look awesome

Dear Skipton,

Few weeks ago I was wondering what it would look like and whether it would be possible to fit LED daylights just in the very way that you did?!

After browsing the web and the pages of the German A2 owners club I had almost given up on the idea since they all had implemented A6 daylights into the body work and I didn't like the look of it.

You did an absolutely awesome job!!! Am I right to assume though that fitting the LEDs only (without the adjustable Xenon lights) would require so much less work? How much time would you estiamate would it take for that part of the job do you recon?

Kindest Regards,
01TN2642
 
Nice job.

I have two other cars with HID's fitted (Boxster S and a 350Z) and I do struggle with them. Whilst I agree they give a bright light they also frustrate the hell out of me, as they have this "cut off" of light on normal dipped beam which only allows you to see about 50 metres in front of the car. Whilst I know they provide a better quality light I reckon the normal incandescent lights are better as they give you a much bigger amount of light so you can see further in front. You won't find this mentioned in any of the car brochures.
 
A few days ago one of my H7R xenon bulbs stopped working for the third time since i've done my first simple retrofit, so i decided to pop back one of the old halogens until i get a new one, and boy was i shocked: there was a clear cut-off in the light pattern, as opposed to the part illuminated by the xenon. After some extensive online searches (that also revealed the sweet retrofit done by Mike), i've decided to go for a full projector conversion, minus the NASA-spec leveling option that is almost impossible to get a hold of in aftermarket projectors.
I went for the Morimoto H1 mini's, and here they are in their full glory:
morimotos.jpg
Hope i get the chance to get a free day in order to find the best matching shroud for the headlight, and document the retrofit. Should look something like this.:cool:
http://www.youtube.com/watch?v=s9urt0WKzYU
 
Quickie update: one headlamp fitted, awaiting some minor spray painting tomorrow and then the resealing. The second instalation will be documented for if any are interested.
20130222_214416.jpg20130222_212434.jpg
 
Xenon projector retrofit

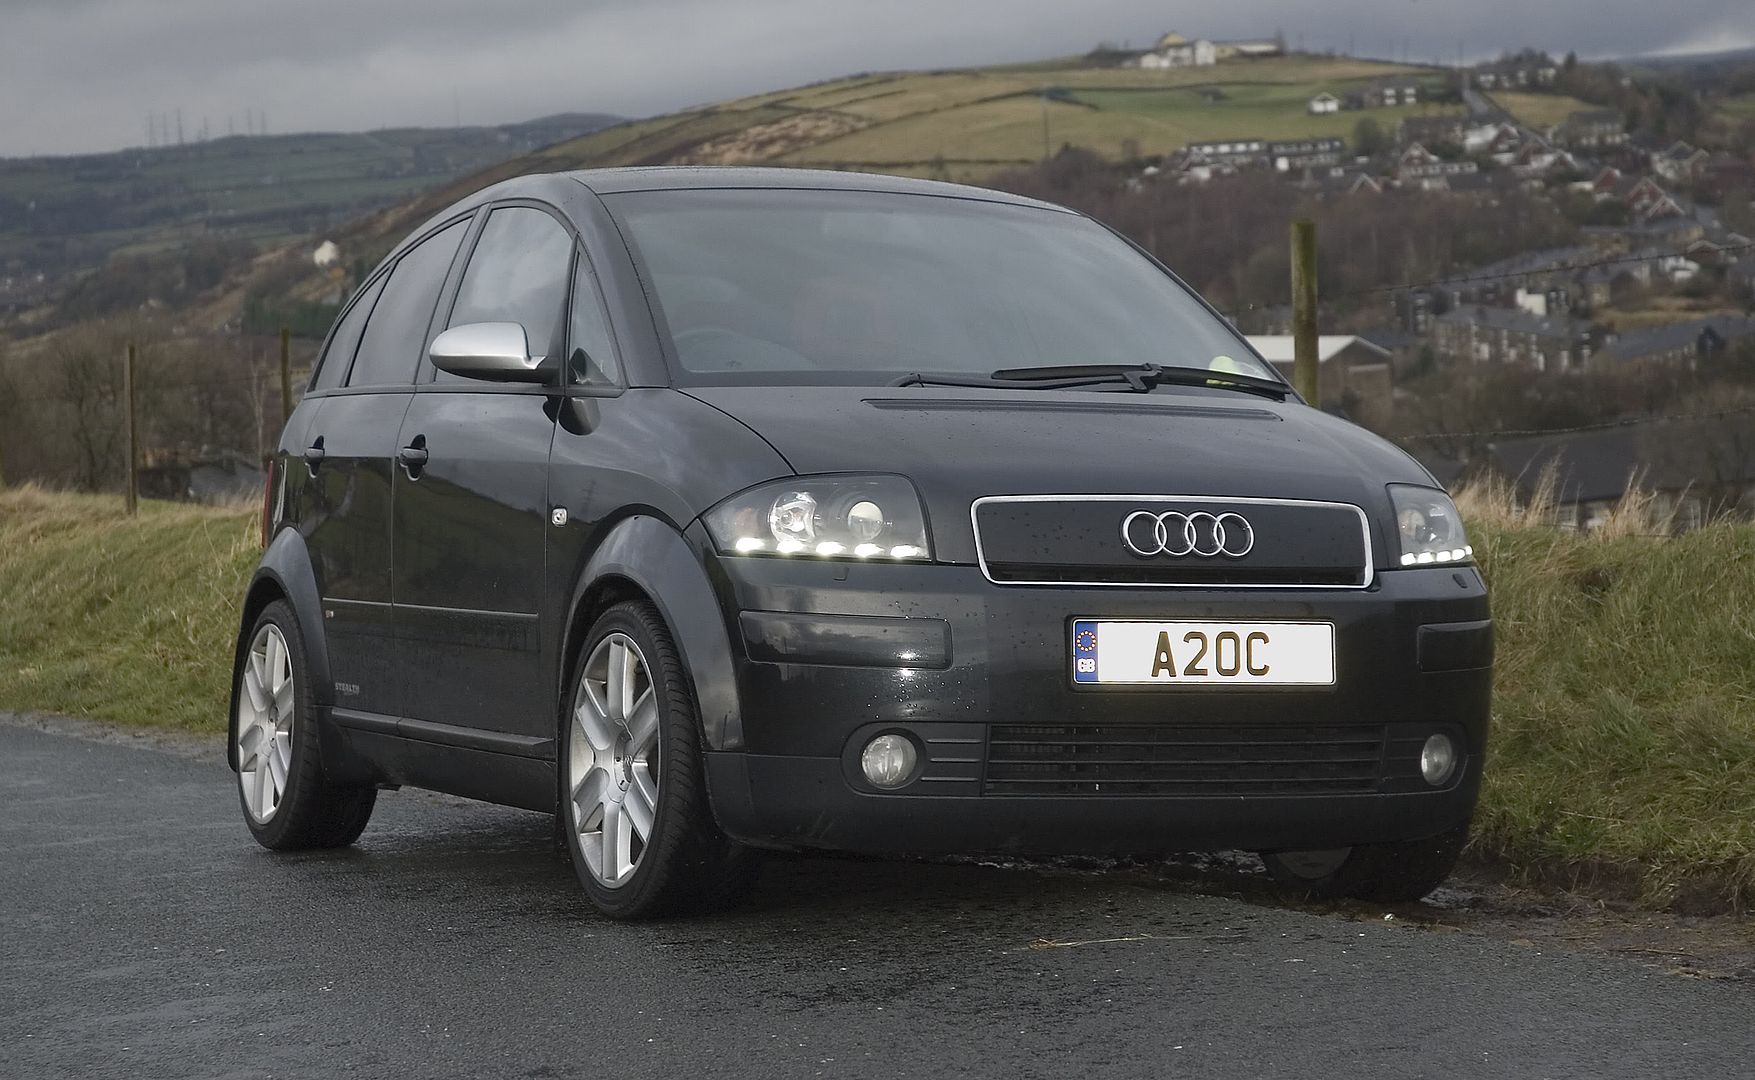
After the OSS Reborn success, i've considered starting a new DIY thread, but this will work just fine adding to the existing one. To be honest, Mike's professional photos were the proverbial straw that broke the camel's back regarding my existing simple HID conversion. Even though i've fitted H7R bulbs, my light pattern cutoff was horrible and also made fellow motorists unhappy at times.
After a little online reading, i've settled on the Morimoto Mini H1 projector as the optimum choice, mainly because of it's wide availability, good reviews and reasonable price at ~50E a pair, excluding ballasts and bulbs. Also it's one of the few projectors that require minimum housing modding, as opposed to the FXR or similar projectors.

The whole retrofit is a straight forward affair, especially if you have the old type clamped headlights. This being said, each time i've opened mine i've managed to break at least one of the 8 or so plastic "bridge" thingies that the clamps hold on to. It's a pretty weak design IMO, no wonder why they've switched to the glued model early one. If you have the glued type of headlight, there are several opinions online regarding the heat time and temperature required to soften the glue, and i trust you can read and make your own decision if you are attempting this retrofit.
Moving on, the first thing to do after taking the headlight of the car is to give it a proper cleaning on the outside. When dealing with projector lenses, you want to have the minimum amount of dust around them.
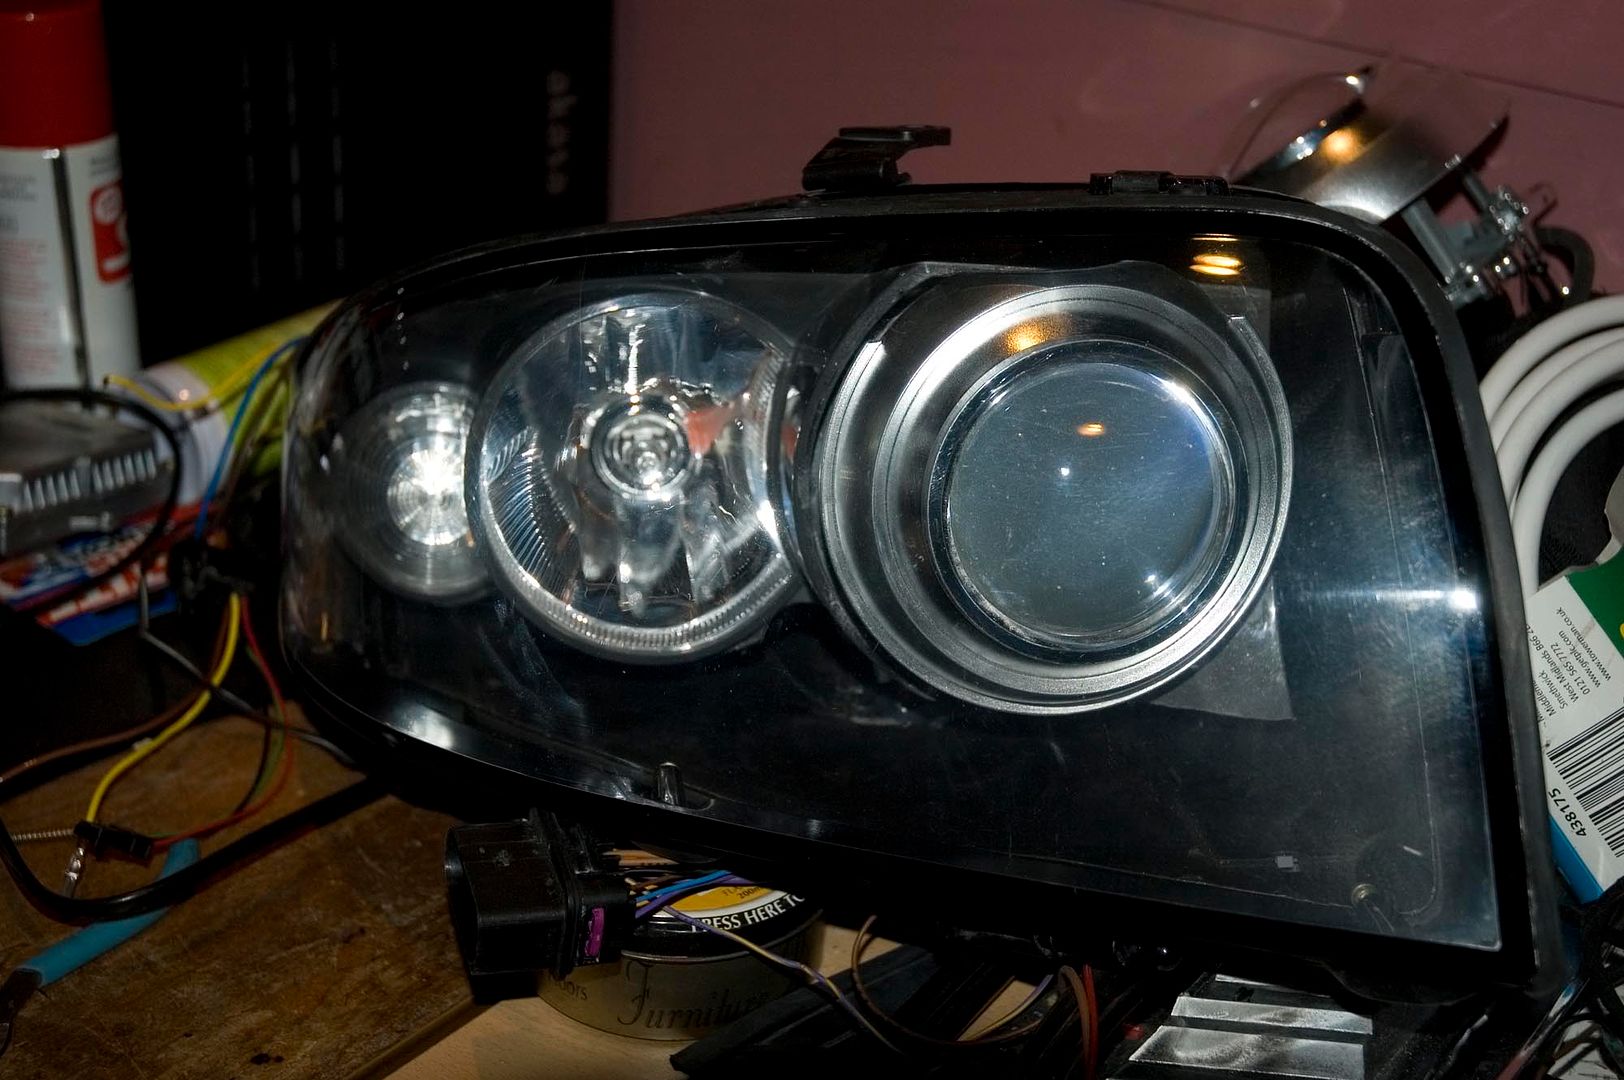
The first foray into the headlight involves opening the back access cap and unscrewing the two screws holding the old halogen covering cap, the one that prevents the tip of the bulb blinding oncoming motorists and also holds the bulb securing hinges. It should look like this after it's removed.
old braket.jpg
The result should look like this, inside and out: 20130223_130441.jpg20130223_130428.jpg
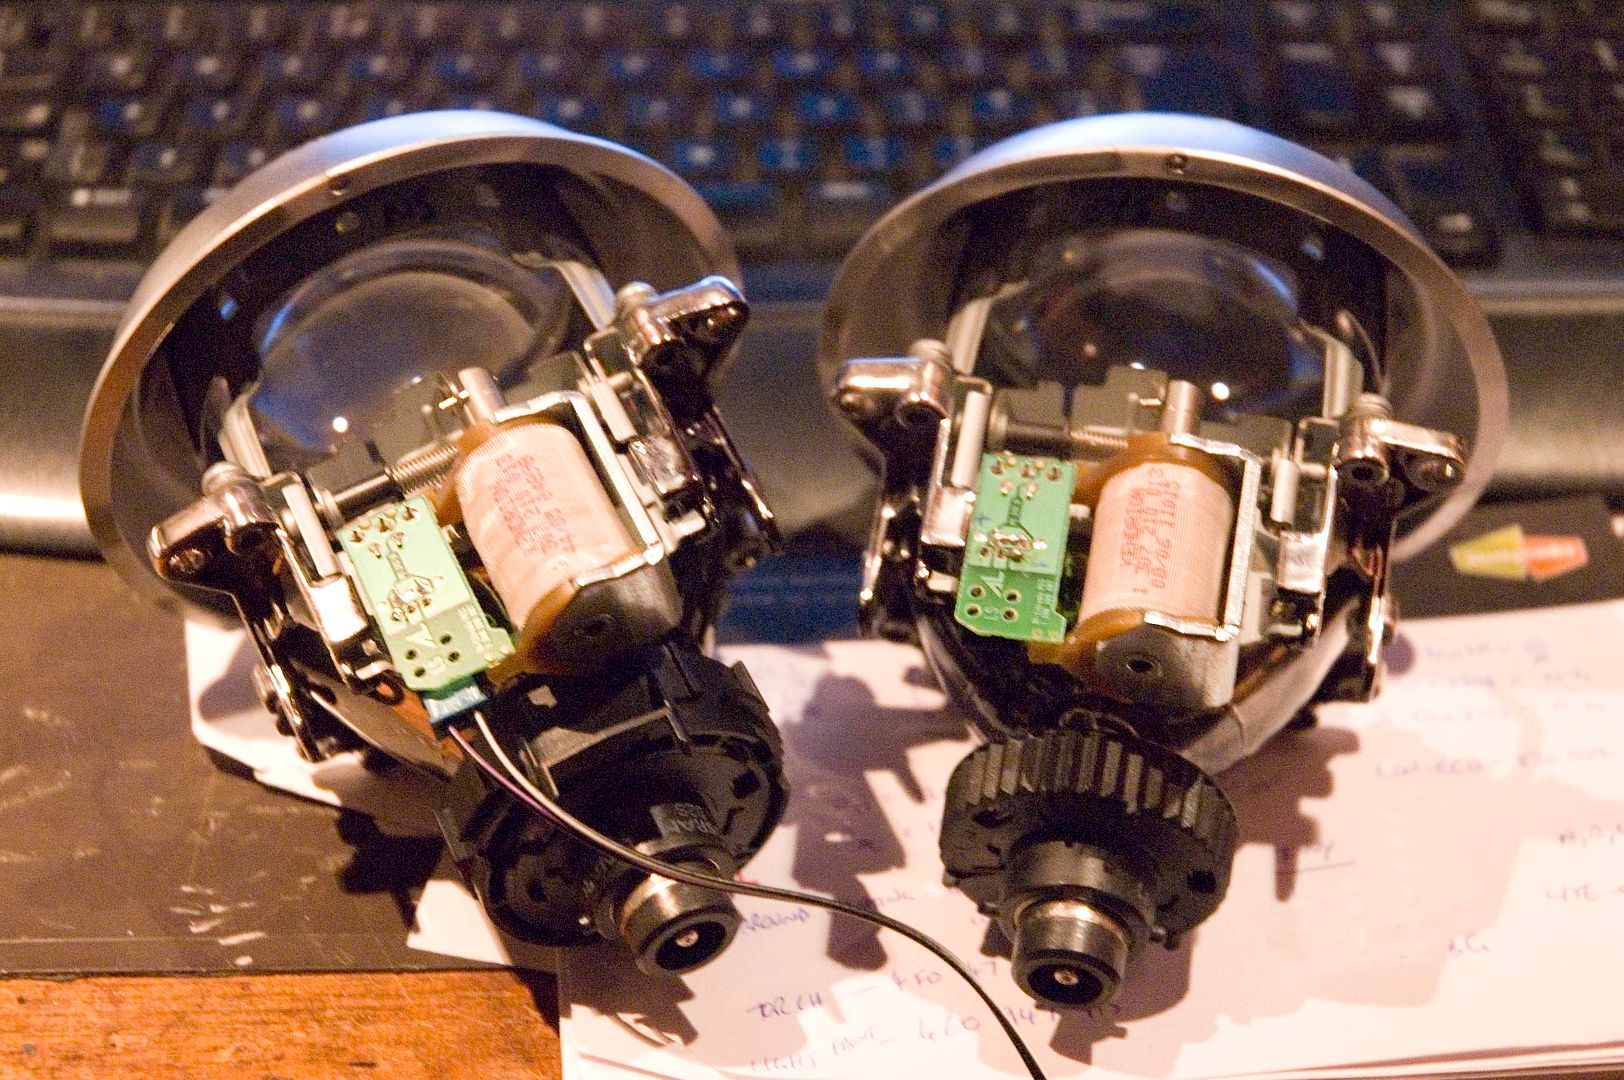
The next part involves positioning the projector inside the reflecting mirror of the old H7 bulb. The projector is seated on a soft silicon like bush supplied in the package. Notice that the end of the projector is fitted with a thread that should come in the other side of the mirror. 20130223_131422.jpg20130223_130855.jpg
There is also a H7 positioning plate supplied, helping to center the projector in the old notch, just like an usual bulb. Over the plate you must then fit a locking nut that fixes the whole assembly in place. 20130223_131623.jpg20130223_131422.jpg
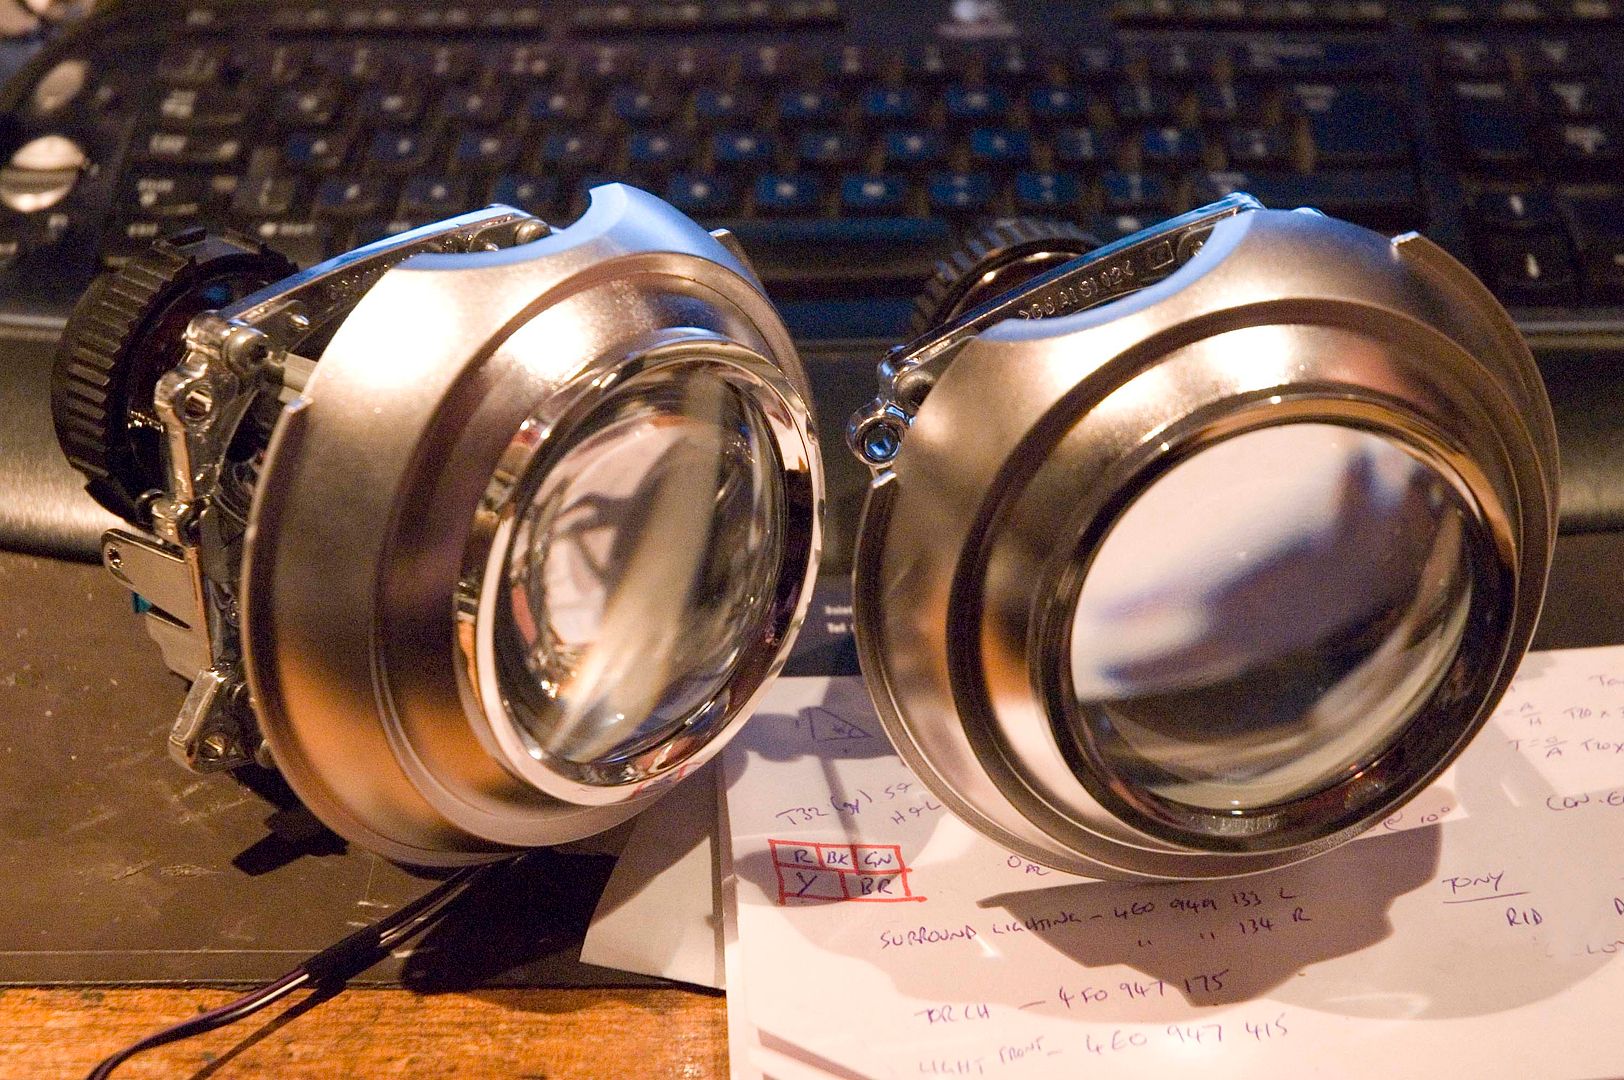
The next step is to fit the new H1 xenon bulbs required for this projector. I went for the 5000K variant over the old 6000k, and it's a much more pleasant and powerful light, without the "chav" like blue tint that only attracts unwanted cop attention. In order to fit the bulbs, you first have to screw a centering plate on the back of the unit. 20130223_132539.jpg
Next you need to connect the power leads to the old H7 plug, on which the red one usually is + and brown in the - terminals. Be smart and use a multimeter to double check yours, Audi might have used a different color scheme on newer iterations of the headlights. All should look like this. 20130223_133100.jpg
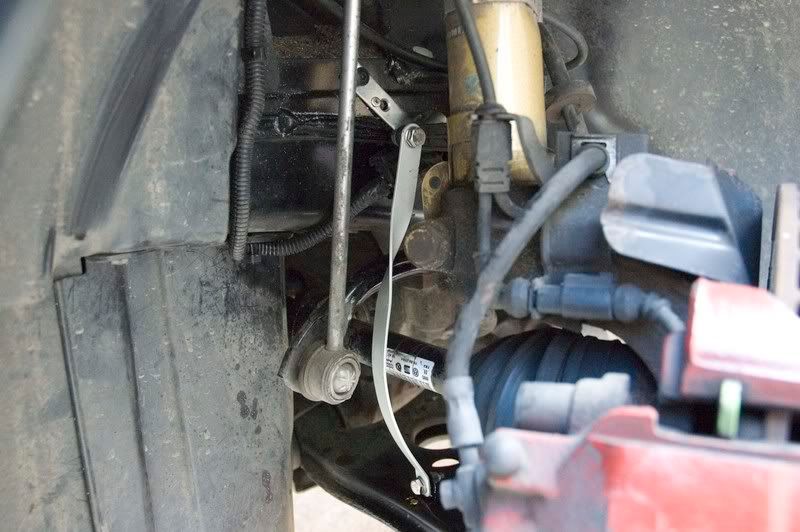
Next step is to drill a hole in the back access cap and route the cables outward in order to be able to connect them to the ballasts.
 
Last edited:
CONTINUED

Next part is a no-brainer for me, but some might want to mix it up. The projector is a bi-xenon type, so it has a solenoid to allow it to flip a deflector inside the housing and allow more light to pass => main beam. I've chosen to keep both the existing halogen main lights and also use the solenoid for extra coverage when needed. The solenoid has two power cables running from it, ending in a plug that i suppose is used to connect to standard H4 wiring looms. This is not the case here so i've split it and released the two pins. 20130223_132006.jpg
The two pins can easily be attached to the main beam bulb connecting points as seen here, enabling the solenoid to be powered at the same time as the halogens. 20130223_133823.jpg
Seeing that i've opened the headlight, i've also painted the existing shiny shrouds in flat black high temp resistant paint. I recommend first carefully removing the existing shiny finish before applying a new coat on. 20130223_140143.jpg
At this point, a test fit on the car would be advised, in order to make sure the projector housings are fitted as should be, before resealing the headlights. The projectors have to be level in order to prevent a slightly slanted cutoff, instead of the desired parallel to the ground one"____/". Also before sealing the unit, make sure to use a microfiber cloth to clean the lens for dust and any smudges.
The kit comes with a set of standard shrouds called "mini gatling gun" (ingenious, i know) that are way to small and do not entirely cover the old mirror, but the best fitting and OEM-looking are the ones called "apollo", available usually as an optional extra at ~12E. The latter shroud requires you to remove a small part from it's outer rim in order to allow them to slide over the existing parking light shroud, but if you measure thrice and cut once, this will actually allow you to provide an extra centering point for the whole projector housing, thus making it more resilient to vibrations and remove the extra pressure applied on the back of the mirror housing. The apollos will also require an additional set of 2.5" to 3" adaptor rings (~9E) in order to properly fit them on the 2.5" sized lens casings. Mini Gatling Gun shrouds 4l.jpgApollo Shrouds-9788l.jpg20130223_162012.jpg
If all went well, your new cutoff should look like this. 20130223_213758.jpg
One last shot: 20130223_161940.jpg
I hope this helps any courageous DIY-ers out there!
 
Last edited:
I really like the added function of the projectors adjusting to assist the main beam! Good work, Trex.

Spike, that's a good website. I like the H7 HID capsules morimoto make: high quality, 4300K versions.
 
That's a great and clever mod !
With projectors, I might consider a HID conversion on the A2. (with reflectors, I would never have done it)

Do you have by chance a picture that illustrates the following statement ?

... The latter shroud requires you to remove a small part from it's outer rim in order to allow them to slide over the existing parking light shroud, but if you measure thrice and cut once, this will actually allow you to provide an extra centering point for the whole projector housing, thus making it more resilient to vibrations and remove the extra pressure applied on the back of the mirror housing.
I mean a picture without the front glass refitted.
That would also show how the "apollo" shroud is integrated with the reflector hidden behind.
 
Back
Top